Wednesday, 22 October 2014

Satay Chicken Skewers Recipe


This is a super easy recipe to make, so it's a good one for beginners. It is an adaption of this Satay Chicken recipe.

Ingredients:

  • 1 1/2 tablespoons of soy sauce
  • 1 1/2 teaspoons of honey
  • 1 teaspoon of tumeric
  • 2 crushed cloves of garlic
  • 1 tablespoon of peanut oil
  • 600-700 grams of chicken
  • 1-2 spring onions
  • satay sauce (either homemade, or store bought)

Method:
Step 1. Combine the soy sauce, honey, turmeric, garlic and oil in a bowl to make the marinade.

Step 2. Cut up the chicken into pieces, then place in the bowl and coat in the marinade.

Step 3. Refrigerate for at least 1 hour.


Step 4. While the chicken is in the fridge, place 10 or so wooden skewers into water and leave them to soak. This helps when the chicken is cooking.


Step 5. Take the chicken out of the fridge and put on the skewers. I usually put 4-6 pieces on each skewer. Then place the skewers onto trays and cook in the oven until the chicken is cooked through. The chicken spent about 20-30 minutes in my oven.

Step 6. Once the chicken has finished cooking take the trays out, and put the skewers onto a plate. Pour some of the satay sauce over them and serve!


These skewers taste great with rice, or a rice salad. So feel free to whip up some kind of rice dish if serving as a meal.
Thanks for reading, hope you enjoy!

Sunday, 19 October 2014

A Trip To Coronet Bay


A little while ago now my friend invited me to stay at her beach house in Coronet Bay. Coronet Bay is a beautiful, quiet little town next to Phillip Island. It was a really relaxing trip and I can't wait to go back there again someday. I'm just going to share a few photos of my trip with you today, and hopefully that will convince you all to take a trip there sometime!


The sea was so beautiful when I was there and I wanted to go swimming so badly!


If any of you have seen The Castle then you will understand this picture. I watched it for the first time while I was down there and loved every bit of it.


My time in Coronet Bay was amazing and even though there isn't a lot to do there - a few rows of shops, lots of beaches and a museum - but it was a wonderful getaway trip and very relaxing before the university semester started. You guys should definitely try and get down there sometime!


Thursday, 16 October 2014

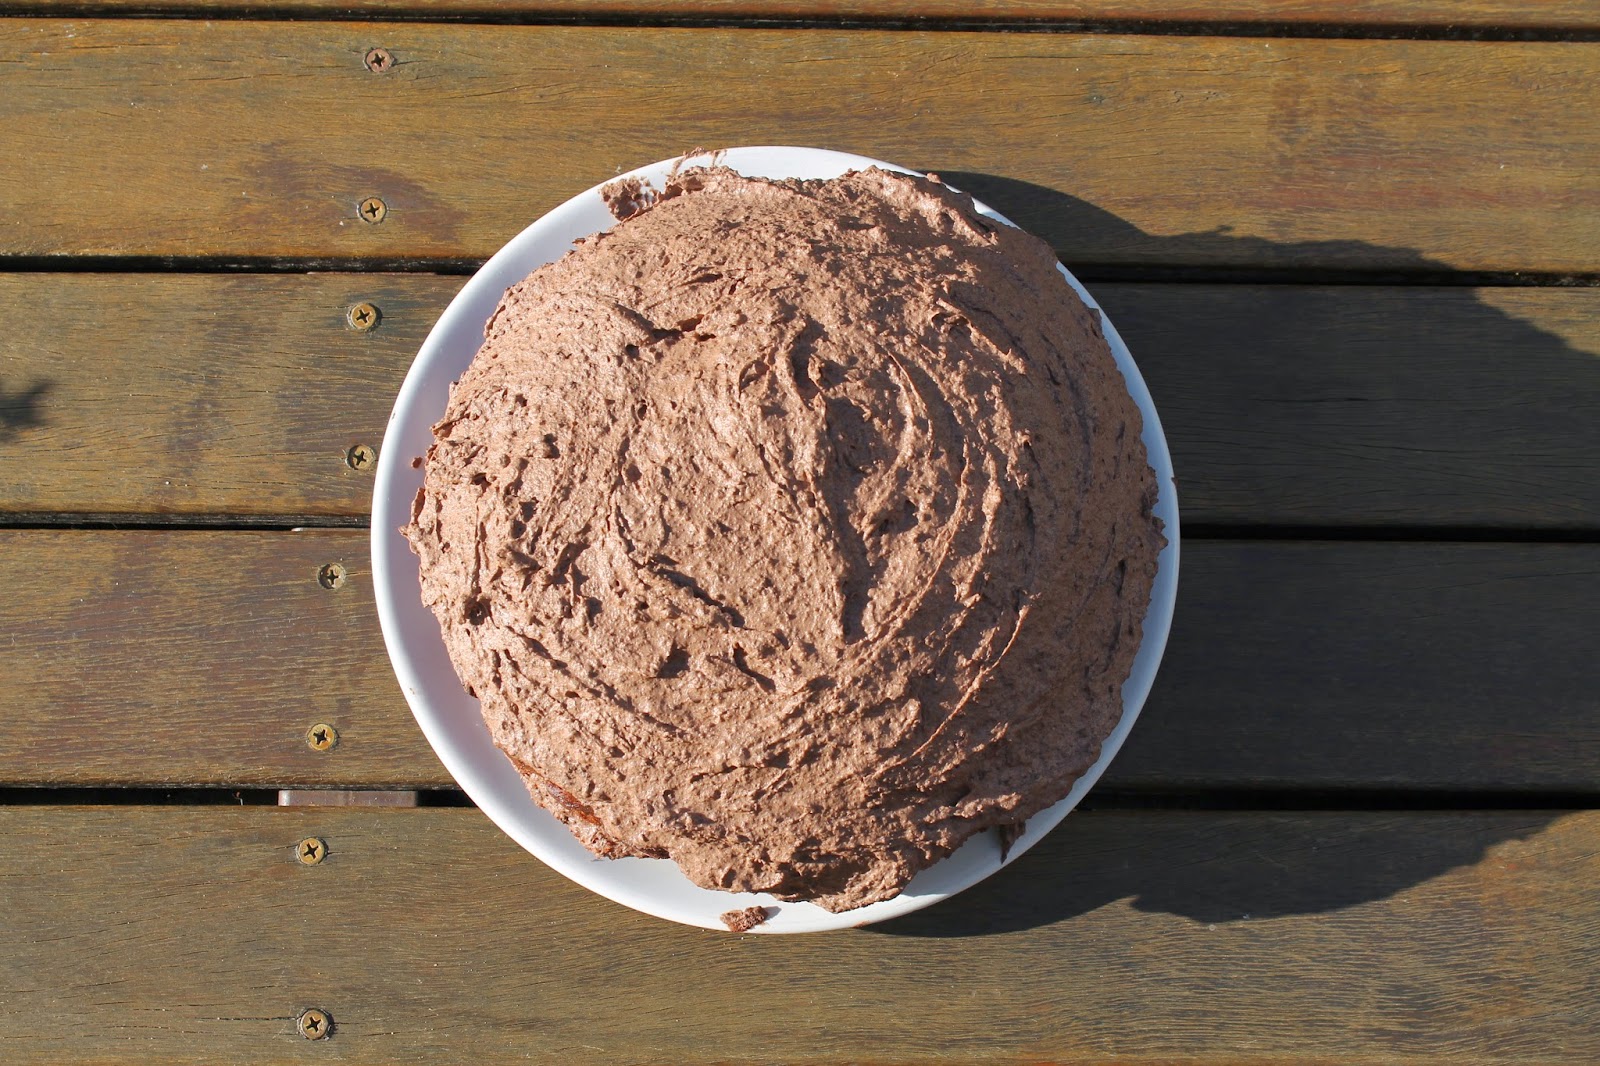
Chocolate Cream Layer Cake


Today I tried out a new recipe that I have been meaning to make for a while now. The recipe is adapted from the 'Vintage Cakes' book and it took a while to make (about 5 hours give or take) but the end result was totally worth it!

Ingredients
Cream Filling
  • 2 cups of thickened cream
  • 250g of melted chocolate
  • 2 teaspoons of vanilla essence
  • 1/2 teaspoon of ground cinnamon

Cake
  • 1/2 a cup of unsweetened cocoa
  • 1/2 a cup of boiling water
  • 1/2 a cup of cooking oil
  • 1/2 a cup of buttermilk
  • 2 teaspoons of vanilla essence
  • 6 egg yolks
  • 1 3/4 cups of plain flour
  • 2 teaspoons of baking powder
  • 1 1/4 cups of brown sugar
  • 6 egg whites
  • 1/2 a teaspoon of cream of tartar
  • 1/2 a cup of sugar

Method
Step 1. Mix the cream into the melted chocolate. Once combined add in the vanilla essence and cinnamon, then cover with cling film and put in the fridge for 3 hours.

Step 2. Whisk the cocoa & boiling water together until smooth, then add in the oil, buttermilk and vanilla essence. Whisk in the egg yolks.


Step 3. In a different bowl whisk together the flour, baking powder and brown sugar until there are no large lumps.

Step 4. Pour the wet ingredients into the bowl with the dry ingredients and stir until mixture is smooth. Be careful not to overmix.


Step 5. Beat the egg whites until frothy, then add the cream of tartar. Continue beating until the egg whites have formed soft peaks.

Step 6. Continuously add the sugar whilst beating the egg whites until the peaks become firm.

Step 7. Fold the egg whites into the flour mixture until just combined.

Step 8. Pour the mixture into a cake tin and bake at 160 degrees celsius for 50-60 minutes. It may take longer than this, depending on your oven.


Step 9. Once the cake has finished cooking, allow to cool. Then slice it horizontally in half.

Step 10. After the three hours are up, take the cream mixture out of the fridge and beat for about a minute, or until it is thick and easy to spread.

Step 11. Spread half of the cream mix onto the top of the bottom half of the cake, then put the top half of the cake on top. Once you have done this spread the remaining cream mixture onto the top of the cake. Let it refrigerate for an hour before serving (yes, you can do it!).

Enjoy!


Monday, 13 October 2014

Quick Tips: How to be Productive


Lately, I have had a lot of assignments due in and a lot of studying to do. If you're like me, and have daily battles with procrastination, then do not fear! There are plenty of little (and big) ways you can make a difference in your life when it comes to studying, doing assignments, or any work-related task. I thought I would share a few ideas with you today as it is coming up to exam time, and studying is important if you want to do well.

Tip 1: Habit RPG

Make an account on Habit RPG. Seriously. This site has just about saved my life. It works by treating your life and work tasks like a game. When you start up you have an avatar which you have to keep up the health of by completing daily tasks, things on your to do list, and habits you want to create or break.
As well as maintaining your health, you earn coins for completing the things mentioned above. You make yourself rewards and set an amount for them to cost (eg. piece of cake = 10 coins), then you can 'buy' yourself that reward once you have earned it. With coins you can also buy costumes for your avatar.
You are also able to create 'parties', so you and your friends can motivate each other, and track each others progress.
All in all, this site is wonderful and has helped me so much this year.


Tip 2: Music
Screenshot of the mac computer version, but it is also
available for android and iphone users.
Recently, I downloaded an app called 'Relax Melodies'. The title is fairly self explanatory, but you create and save music mixes from the sounds given (eg. birds, river, ocean, flute, wind, etc.). I find this app extremely helpful when studying and when I can't get to sleep. I have created a few of my own mixes, and saved some provided, named by what I use them for.
This app is also useful (in my own personal experience) as it helps calm down those who experience sensory overloads for whatever reason. Also - the free version is actually good and doesn't impose strict limitations on what you can do with it.


Tip 3: Stop when stressed


Okay, so this isn't as much a typical tip to help with productiveness, but I believe it is one of the most important things I have learnt. When you are struggling to write that essay, or when you feel like crying and quitting school because of your workload - you need a time out. I know sometimes this can be really hard, especially when there is a big assignment due in the next day, but in the long term, it is better for your health and work quality. In my experience attempting to do work when I'm stressed only leads to bad work which I then end up re-doing or re-writing. Whenever I take a break from my work, I can come back feeling refreshed and ready to work.

So that's it! 3 quick tips to help you be productive. I hope it was useful for you, and I might do an 'Activities for Study Breaks' post a little later on. Happy studying everyone!

Ps. 'Quick Tips' is going to be a new section of my blog that I will post under maybe once a month or so. I'll share with you tips on all sorts of things - stress, study, health, etc. So, keep an eye out for the next topic! And if you have any topic ideas, feel free to contact me to let me know :)

Tuesday, 7 October 2014

Wedding Wear


Hello readers, I have decided to begin a new segment of this blog about what I wear to certain occasions, and where I bought the outfit from.
On Sunday I went to my Church drama group leaders' wedding. They both looked really happy and I'm very pleased for both of them. This was the first wedding I have ever been to, so I wasn't entirely sure what to expect, but I had a good time.
I wore...
Dress: Windy City dress from Modcloth
Watch: Forever New
Shoes: character shoes from Energetiks